Non Destructive Testing
Sentinel Inspection Services has a great range of non destructive testing (NDT) methods and techniques that we can provide to clients.
Radiographic Testing (RT)
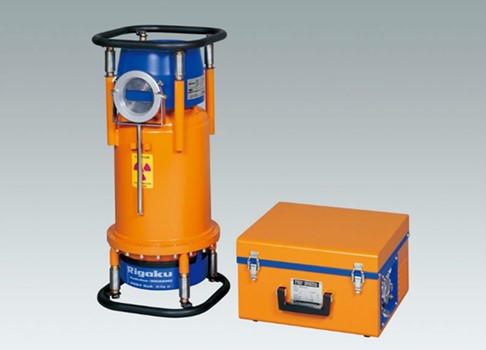
Radiographic testing, or Industrial Radiography, is an NDT method of inspecting materials for hidden flaws by using the ability of short wavelength electromagnetic radiation (high energy photons) to penetrate various materials.
We use either X-Ray or Gamma radiation for our Radiographic inspections which reveal volumetric and some planar discontinuities depending on their position in the weld.
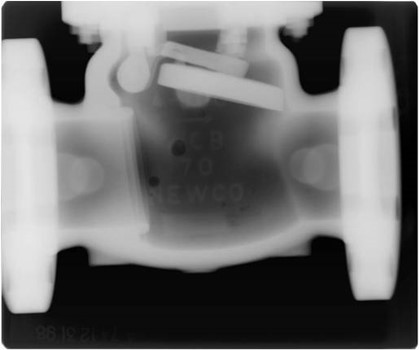
Below is an example of an longitudinal crack found in a weld with Radiography.

Ultrasonic Testing (UT)
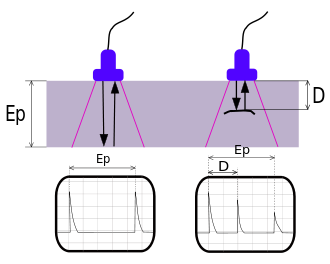
Ultrasonic testing (UT) utilises short pulses of high frequency sound waves to penetrate into the material causing displacements (vibrations) which reflect off an interface back to the transducer used to make the sound wave producing an image on the Ultrasonic flaw detector whether the interface be the opposite surface of the material or a discontinuity inside the material. UT can detect both volumetric or planar discontinuities in materials. We can carry out thickness testing, weld testing and Phased Array testing with UT.
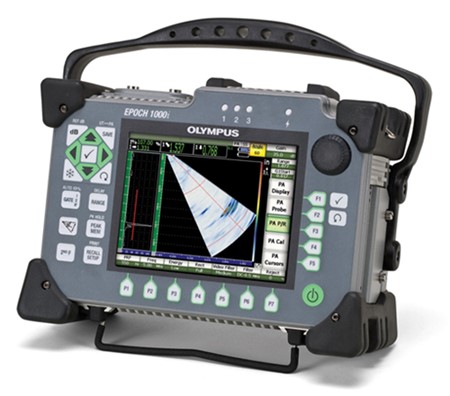
Below is a representation of the UT flaw detector display showing no defect on the left and with a defect present on the right.
Magnetic Particle Testing (MT/MPI)
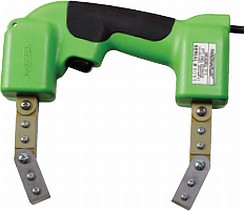
Magnetic Particle Inspection is used to locate surface and slightly sub-surface discontinuities in ferritic materials by inducing a magnetic field into the part with the aid of contrast spray paint and ferrous iron particles. These particles can either be dry or suspended in a liquid.
The presence of a surface or sub-surface discontinuity causes a magnetic flux leakage which the iron particles applied during the test are attracted to. The particles build up in this area to form the shape of the discontinuity in the material.
We can carry out contrast or flourescent MPI inspections.
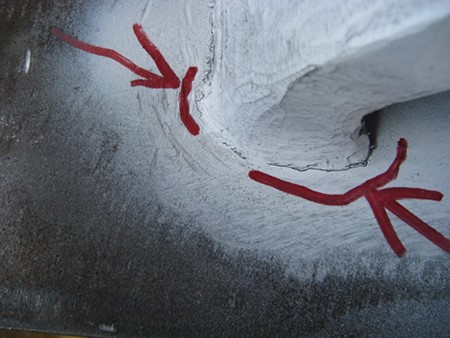
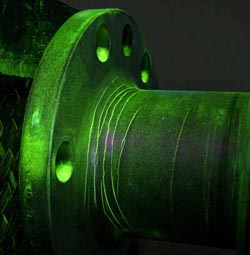
Below are examples of discontinuities found with both fluorescent and contrast MPI inspections.
Dye Penetrant Inspection/Penetrant Inspection (DPI/PT)
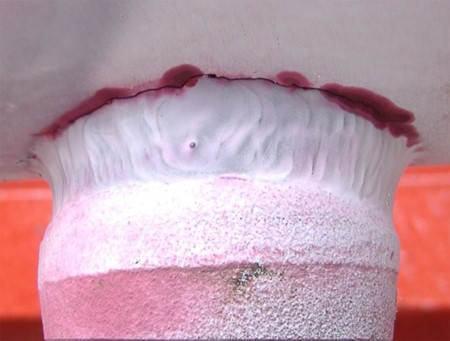
Dye Penetrant Inspection is generally carried out on non-ferrous materials such as stainless steel and aluminium to detect surface breaking discontinuities by the use of dyes and developers.
A dye is applied to the part and left to dwell for a set amount of time before being washed away with water and left to dry, once this is done a developer is applied, this draws out any dye that has been absorbed into discontinuities leaving visible indications on the surface of the part as shown above.
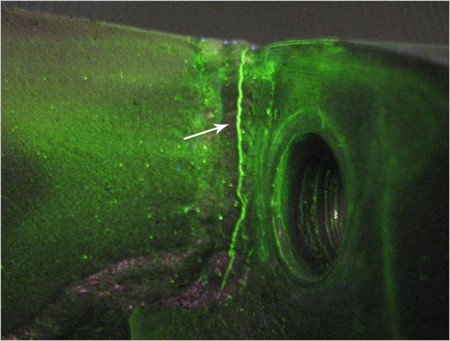
We use both visible and flourescent methods of Penetrant inspection.
Example of flourescent Penetrant Inspection:
Hardness Testing
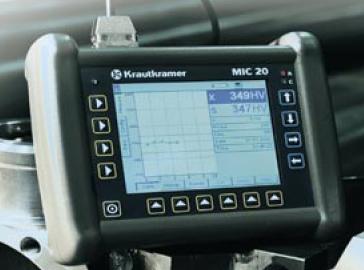
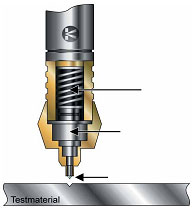
Our hardness tester combines the UCI and rebound test methods. The UCI method is best applied to small fine grained complex shaped parts while the rebound method is more suited to larger coarse grained castings and forgings.
Phased Array (PA UT)
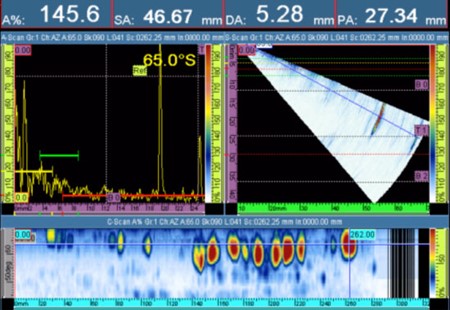
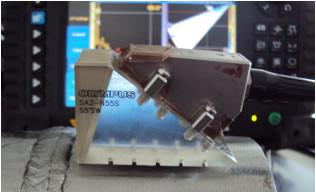
Phased Array utilises a transducer with multiple elements and like Ultrasonics, objects can be scanned using the transducer coupled to the test surface.
An advantage of Phased Array is that multiple angles can be scanned simultaneously and the transducer covers a greater area making scanning faster.
Internal Rotary Inspection System (IRIS)
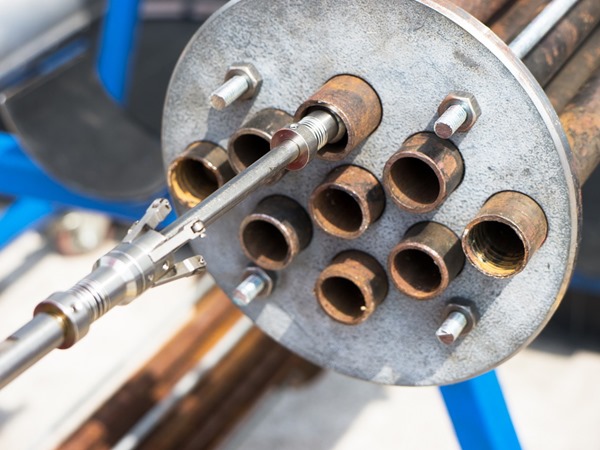
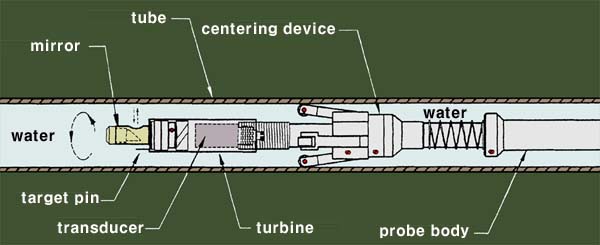
Internal Rotary Inspection System (IRIS) is an ultrasonic method for the non-destructive testing of pipes and tubes. The IRIS probe is inserted into a tube that is flooded with water, and the probe is pulled out slowly as the data is displayed and recorded. The ultrasonic beam allows detection of metal loss from the inside and outside of the tube wall.

Digital Radiography
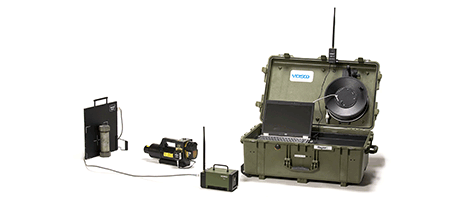
Using low strength isotopes, digital radiography is an alternative method to convential radiography excelling at finding wall loss on in-service piping. Radiation from the source is applied as it would be using a conventional method buut instead of using films and processing equipment, the image is captured instanly on the computer from the digital imaging plate and software and measurements can be obtained instantly.
Eddy Current Testing (EC)
Eddy Current Testing uses electro-magnetic induction to detect flaws in a conductive material.
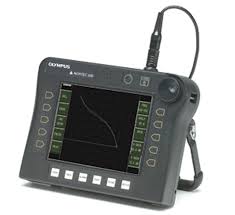
Eddy Current Testing can detect very small cracks in or near the surface of the material, the surfaces need minimal preparation and physically complex geometries can be inspected. Is also useful for electrical conductivity and coating thickness measurements.
Get in touch with us
Contact Sentinel Inspection Services today to see how we can help you!
